
Tags
Another long gap since I sat down to write. Lots going on, with more frequent visits to the hospital, still trying to sort out the mess that my husband’s stomach surgery back in 2016 has left him in. Possibly from the stress of it all, I have had several ear infections, then a horrid bout of flu and bitten by a street cat, having to be vaccinated against rabies, all of which I could have done without but hey ho, we’re still standing, still laughing.
Every now and then we all need a break, and a change is as good as a rest as they say. I was most pleased to go on a practical bio-construction course, being taught by Martina Fierro from Argentina and held at Flecha da Mata Eco village, near Aracati, Ceará. The village is relatively close to where I live and owned and run by Ana and Fabió Flecha. A place I love to visit with good, good people who I like to spend time with.
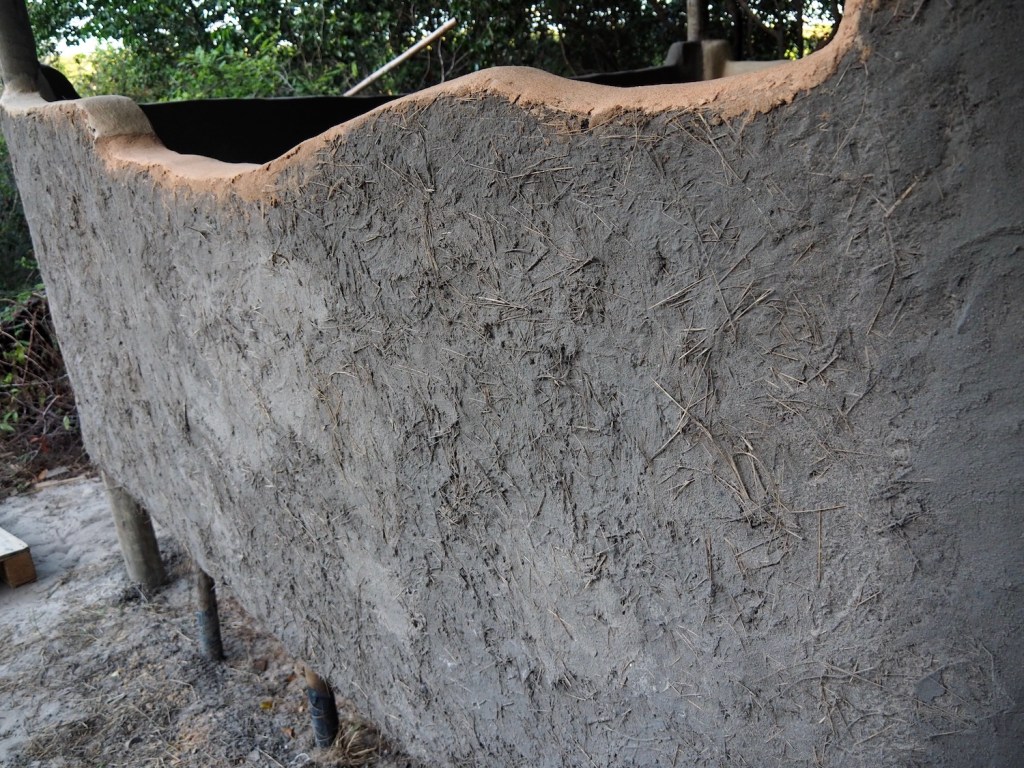
We would be working on two separate structures, using different bio-construction techniques on each. The first, a timber framed structure which will eventually become a craft shop, had previously constructed low Cob* walls. We would add smooth, plaster like layers to the Cob walls and then give them a water resistant coating.

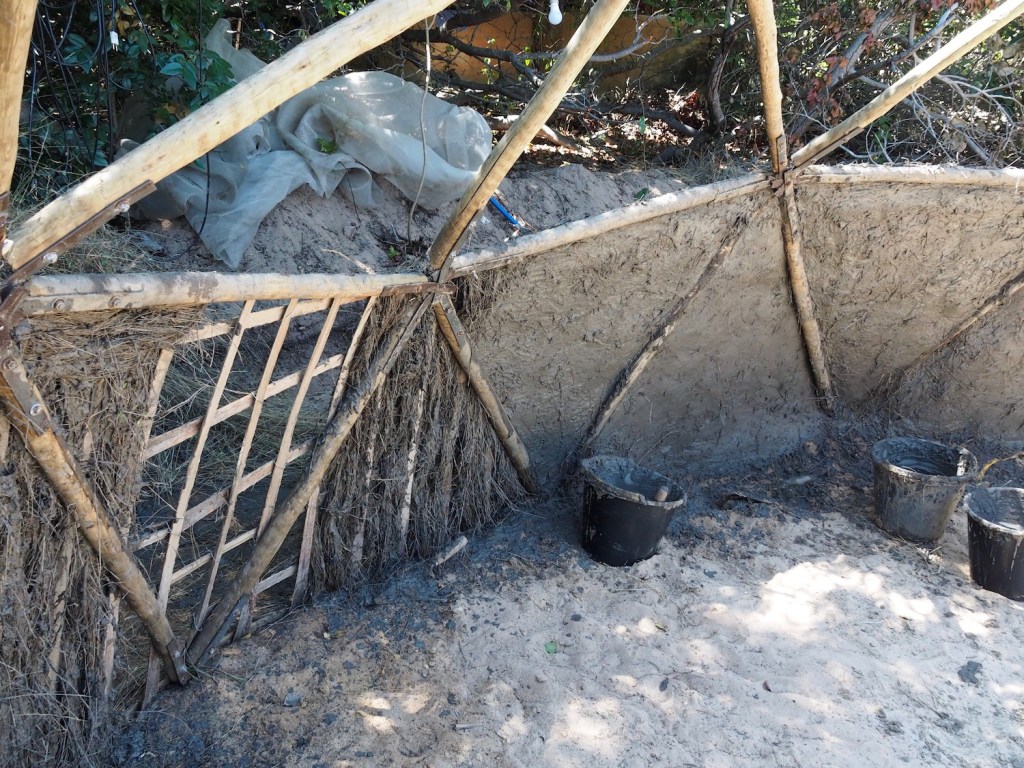
The second structure was a wooden geodesic dome. We would only be creating a wall for the lower part, as the upper part will be left open. Fabió and Ana are debating ideas for the dome’s ultimate use, it may, or may not, be covered over once they have settled on its final purpose.
While I was at school in NW London, one of my teachers somehow managed to persuade the Head Master to allow us 15 year olds to build a huge geodesic dome. Our teacher taught us to do it from scratch, calculating the correct angles and cutting the timber for the frame etc. I really enjoyed building it but it never got the covering it was meant to have and it was eventually torn down. It gave me a laugh to think that 40 years on I would finally be putting walls on a dome on the other side of the world.
Domes are incredibly strong structures, being made up of triangles which are the most stable of building shapes, and are not difficult to build once you have your calculations sorted. For anyone wanting to give it a go but scratching their heads over the maths, just type “Dome Calculator” into your search engine and a whole host of sites will pop up, where the calculations are done for you for free. Many of these sites offer a wealth of other helpful information too.
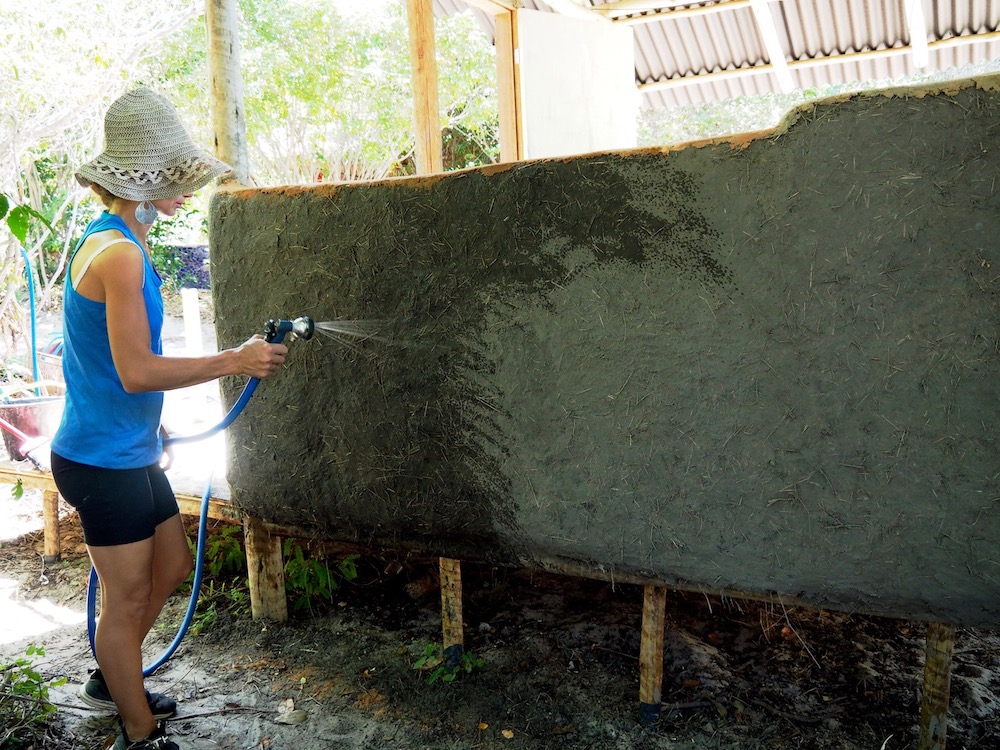
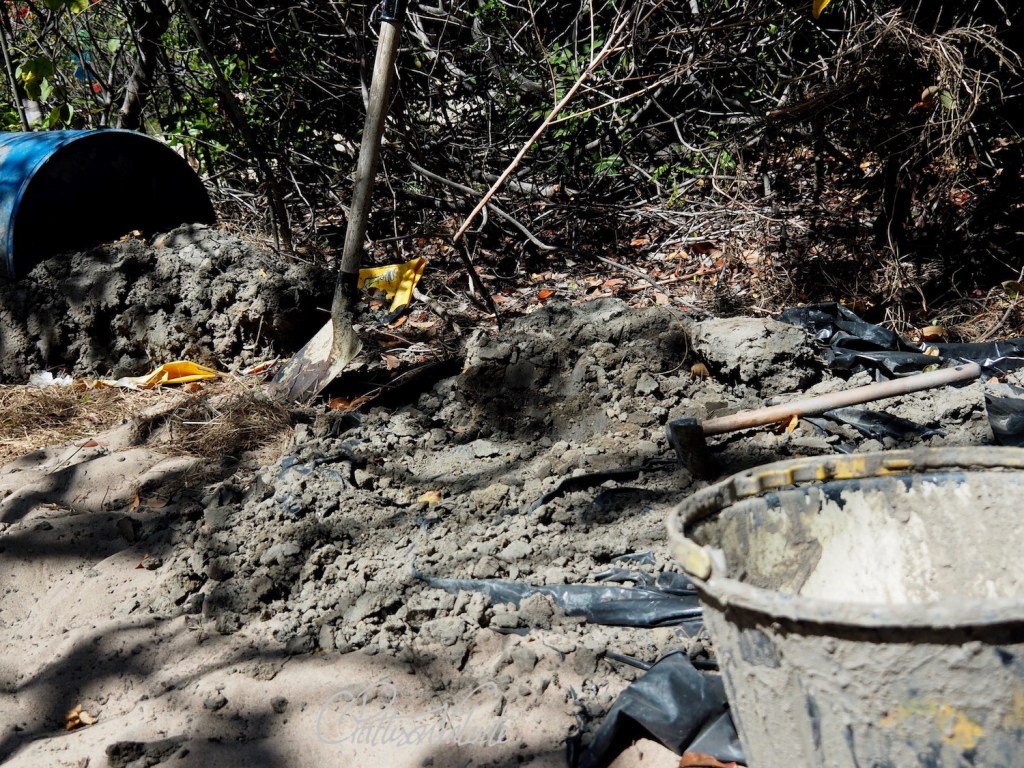
Back at the Eco village my first job was finishing the adobe walls. Martina hosed down the dry Cob and in her speedy animated way, explained why it was so important. At least I assumed that’s what she was saying, I couldn’t understand a word! I speak OK Portuguese, Martina speaks rapid fire Spanish with a heavy accent. Whilst the two languages are similar in many ways, they are also very different, I was a little worried about how this was going to work.
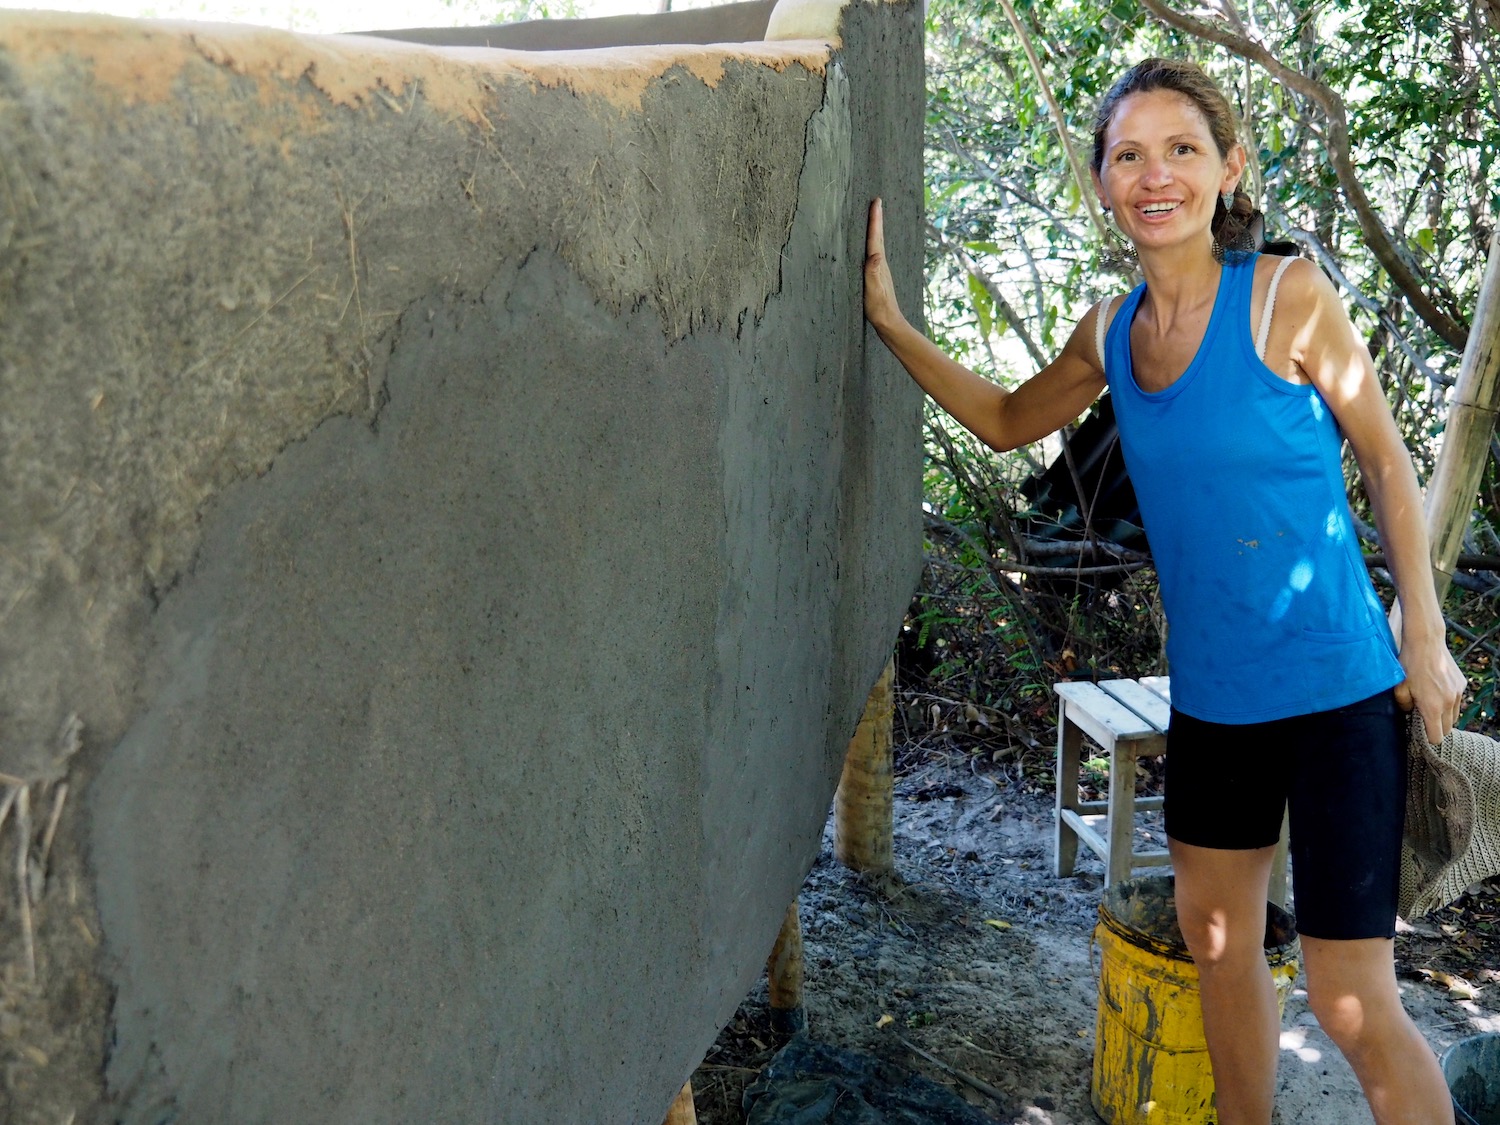
Martina handed me a bucket of slightly sloppy mud and a trowel, then showed me what to do, basically slap it on like this and spread it about like that. I’m not greatly experienced in plastering but Martina seemed pleased with my efforts, saying “Muy bien!” over and over, with a big smile on her face. That at least I could understand, smiles are universal.
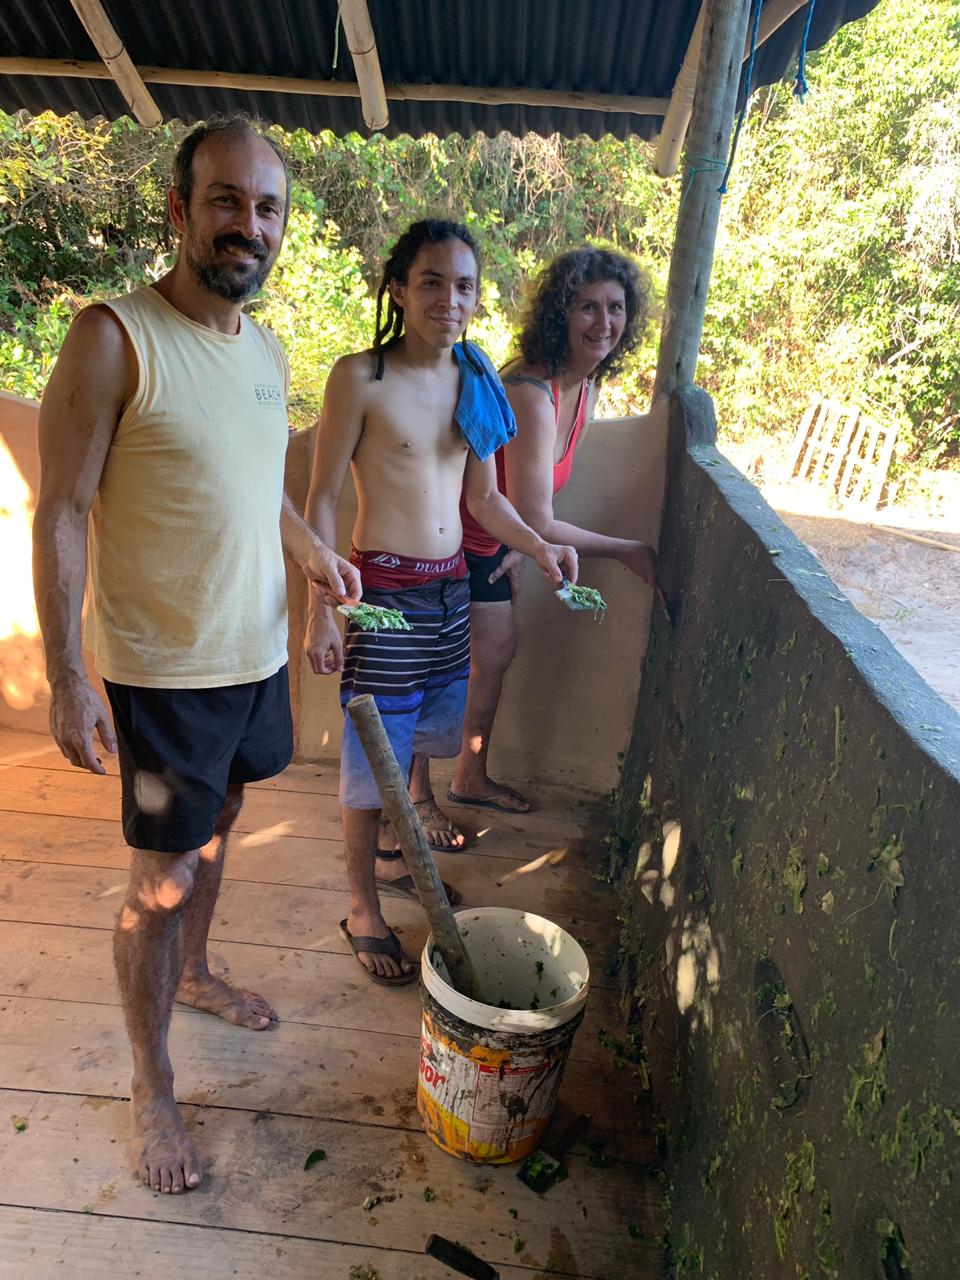
Three of the volunteers currently working at the Eco Village joined us; Kayo, a young architect from Brazil, Ileana from Argentina, whose Spanish I found easier and who also spoke Portuguese, and Pia from Germany, who spoke good Spanish, good English and was learning Portuguese fast. Our multilingual group helped each other out as needed and as the day wore on I became more attuned to Martina’s speech.
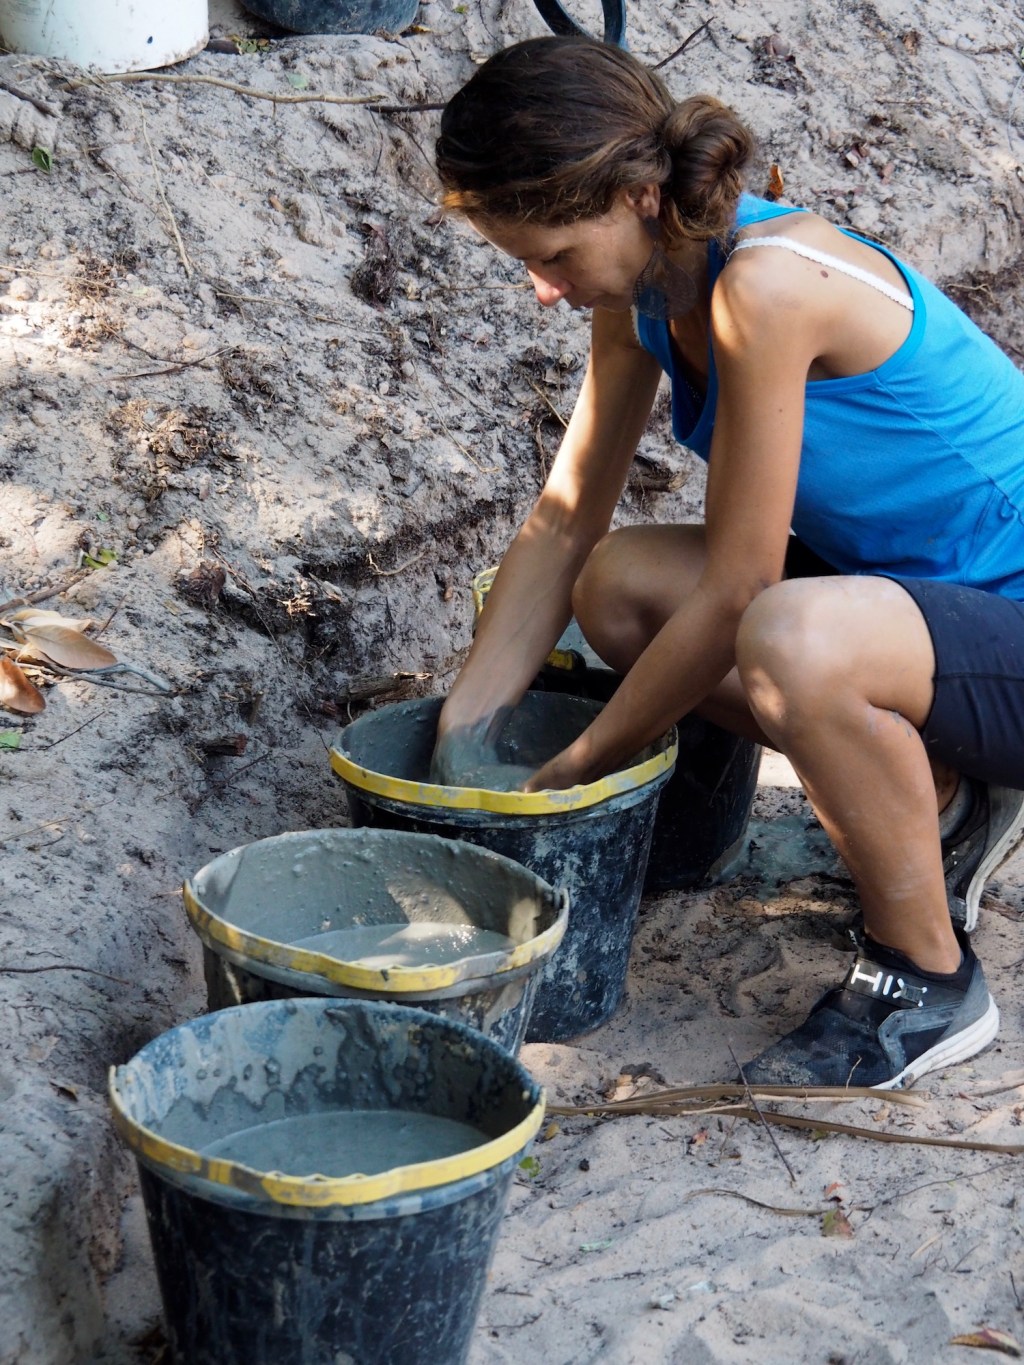
The best mix for natural building methods using clay, sand and straw are location specific, with variations in clay, sand and climate dictating the percentage of each material used. Martina gave us three site specific recipes, to be used one after the other for building the wall. The main difference in these was the length of the cut straw in each mix.
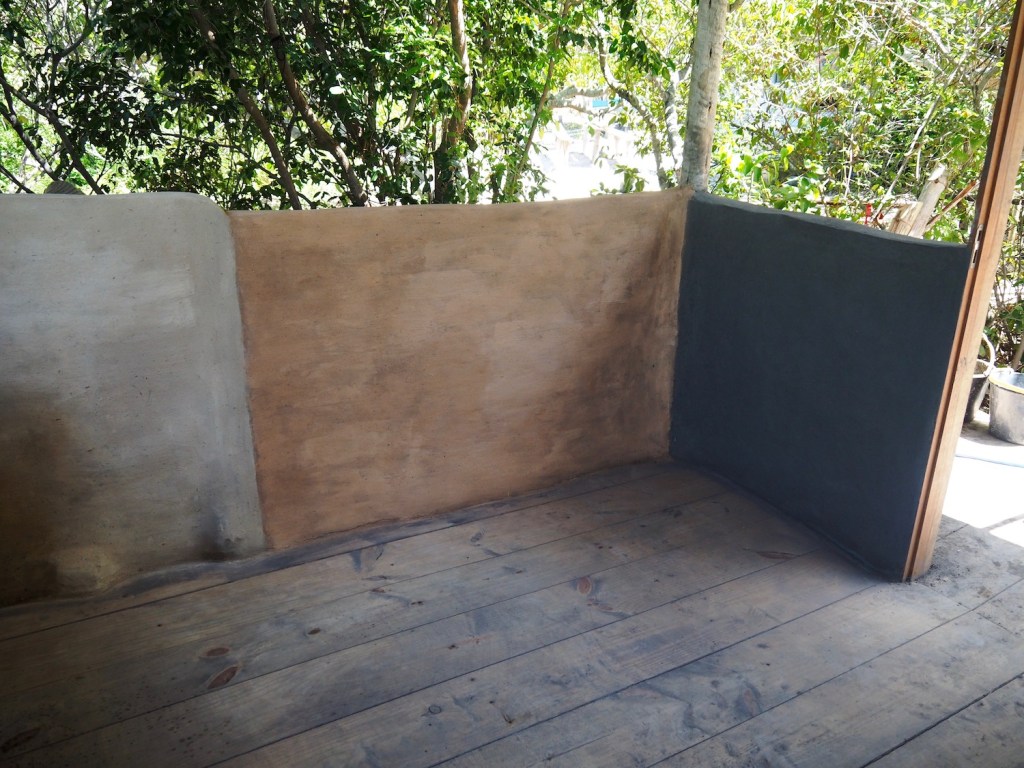
When the final layer was completed, we polished it with a sponge soaked in a watery mix of clay and sand. The first mix used coarse sand with the clay. This filled in and smoothed out irregularities in the surface and when that dried we used a second mix with very fine sand, which further refined the surface. To give the walls maximum protection from rain, we also used a clay, sand and hydrated lime mix as a coating.
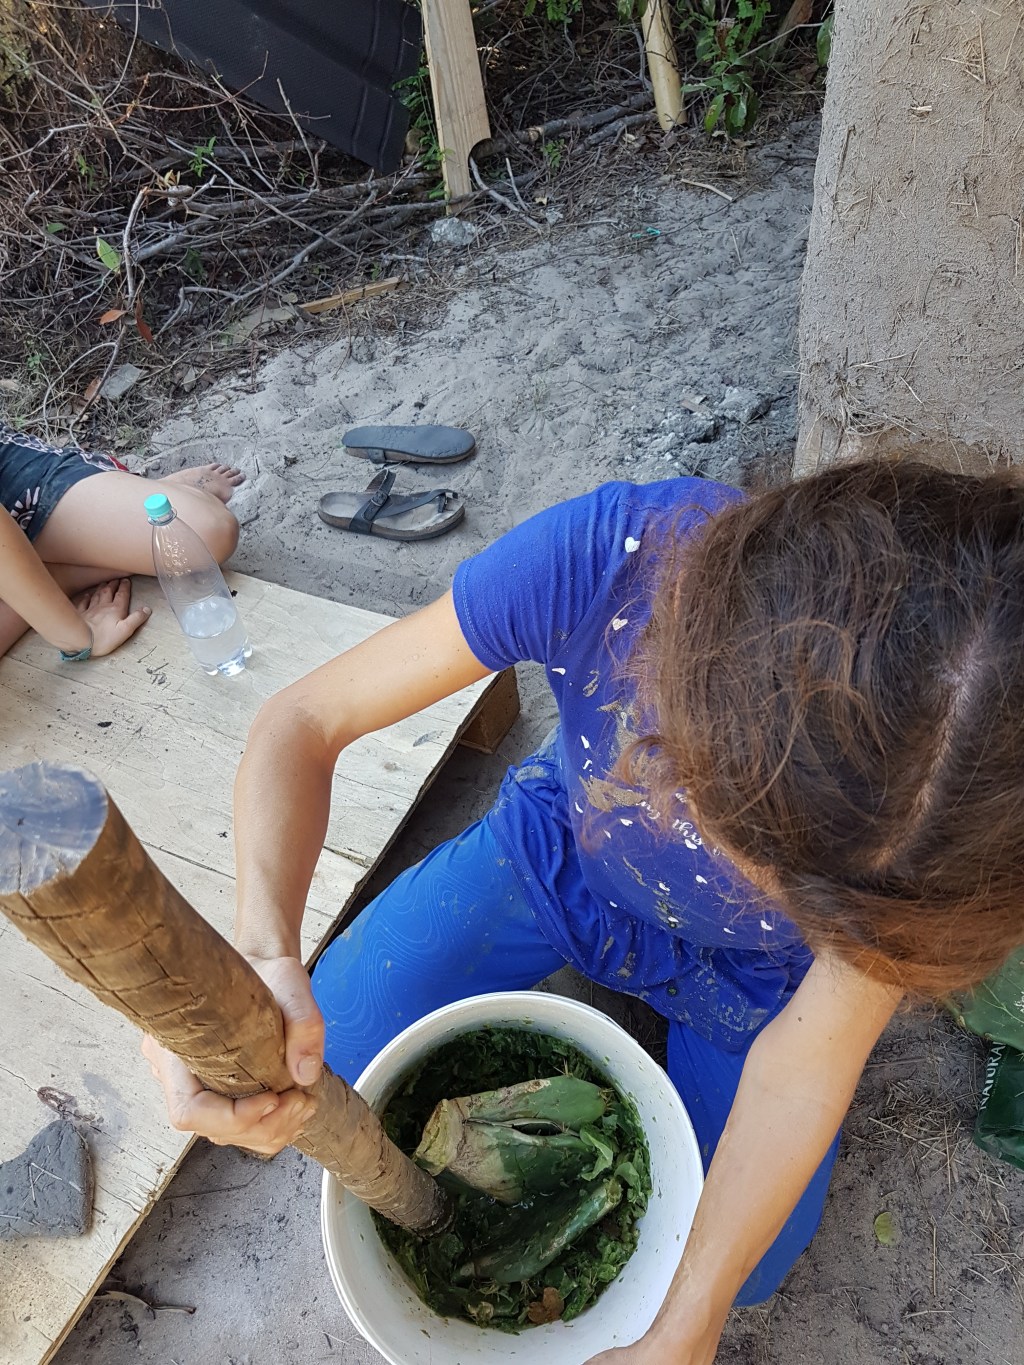
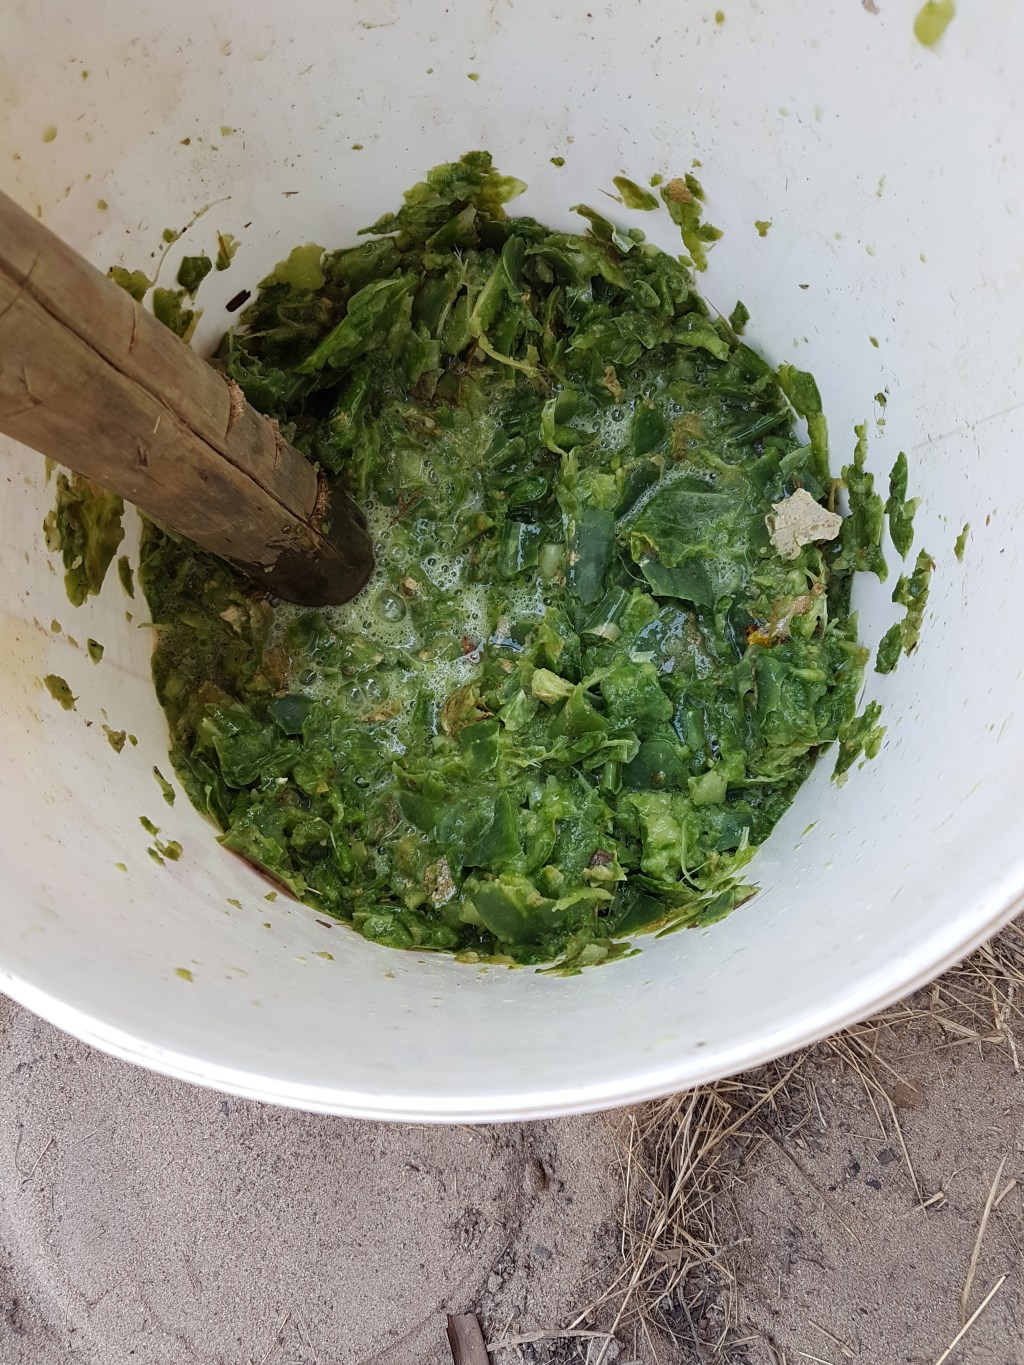
Then Martina had us mashing cactus. This type of cactus grows everywhere here and has particularly vicious spines which, if you are unlucky enough to get stabbed by, can quickly become infected. The resulting mash, the juice and the plant pieces, would be painted on the walls. As it dried, the solid pieces would fall away, leaving a water resistant but breathable layer. For extra protection the cactus mash can be applied a few days after a coating with the lime mix.
On to the Dome. Here we were working with a method known as Quincha. It is a still used, traditional technique, from Central and South America, with evidence that it predates the Incas, Mayans and Aztec peoples. Quincha provides people with cheaply built homes that are resistant to seismic activity, very important in regions where earthquakes can be devastating.
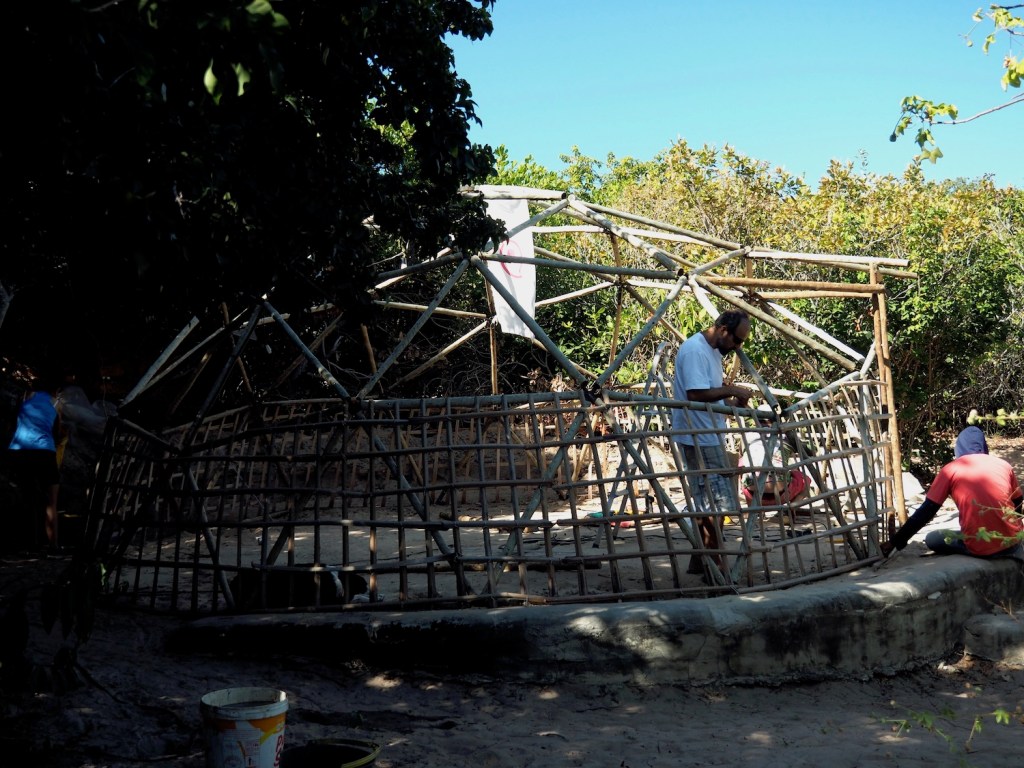
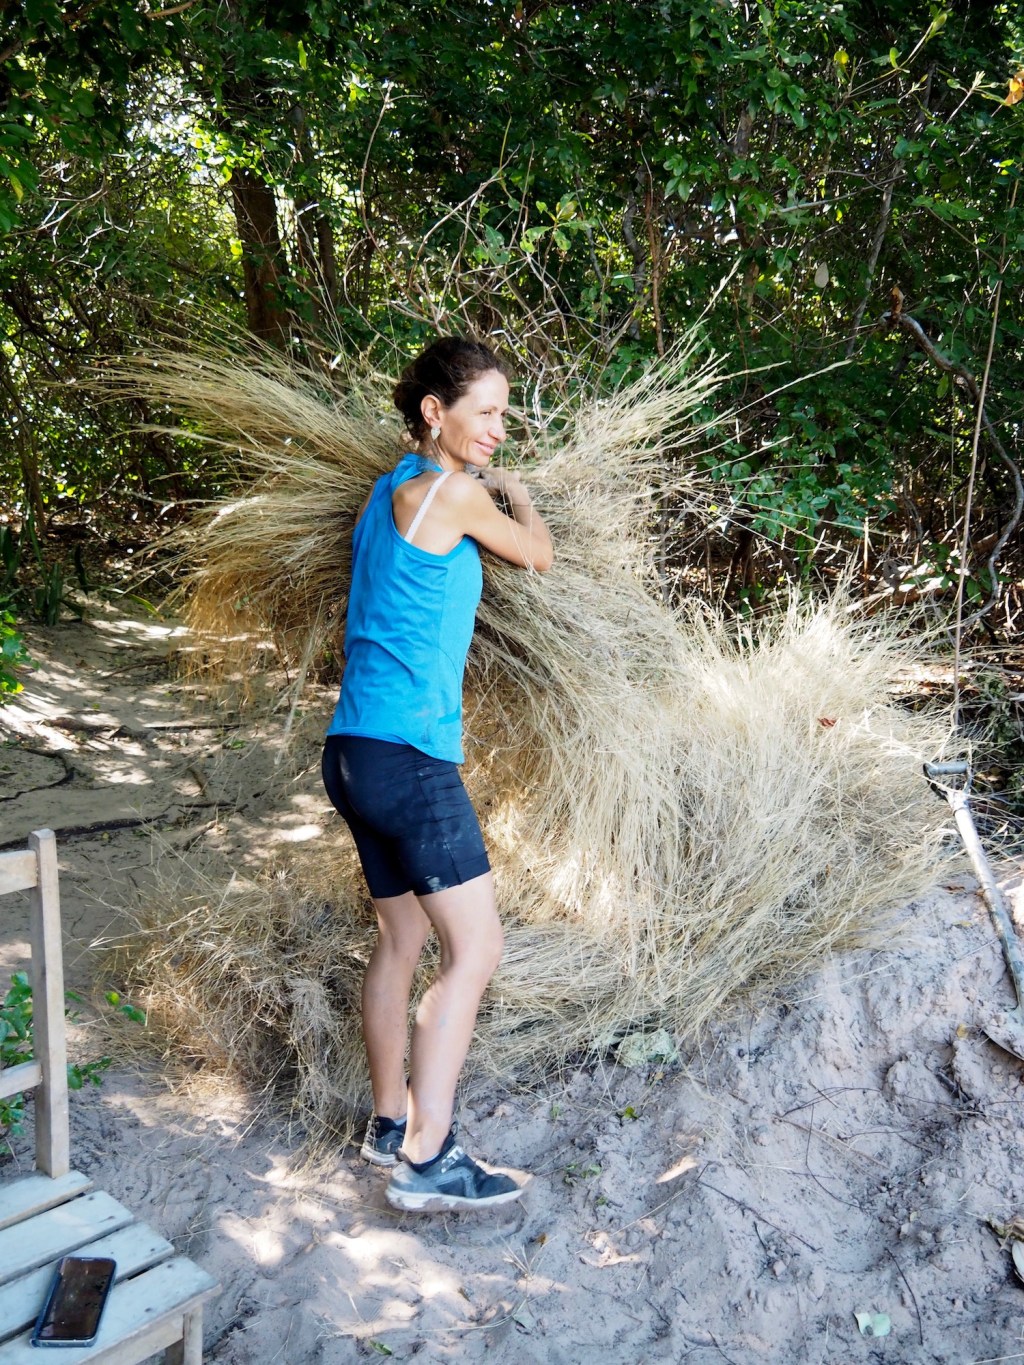
Methods of Quincha vary from region to region, but basically all involve a base frame of slats, which is filled in with the mud, sand and straw mix. Often the frame is made of two layers with the filling going in between, but we were using a single lattice. Taking a handful of dry long grass and twisting it slightly to form a sort of rope, we dipped it into a sloppy sand and clay mix and then threaded it in and out of the lattice. The next grass rope was threaded contrary to the first, creating a woven wall.
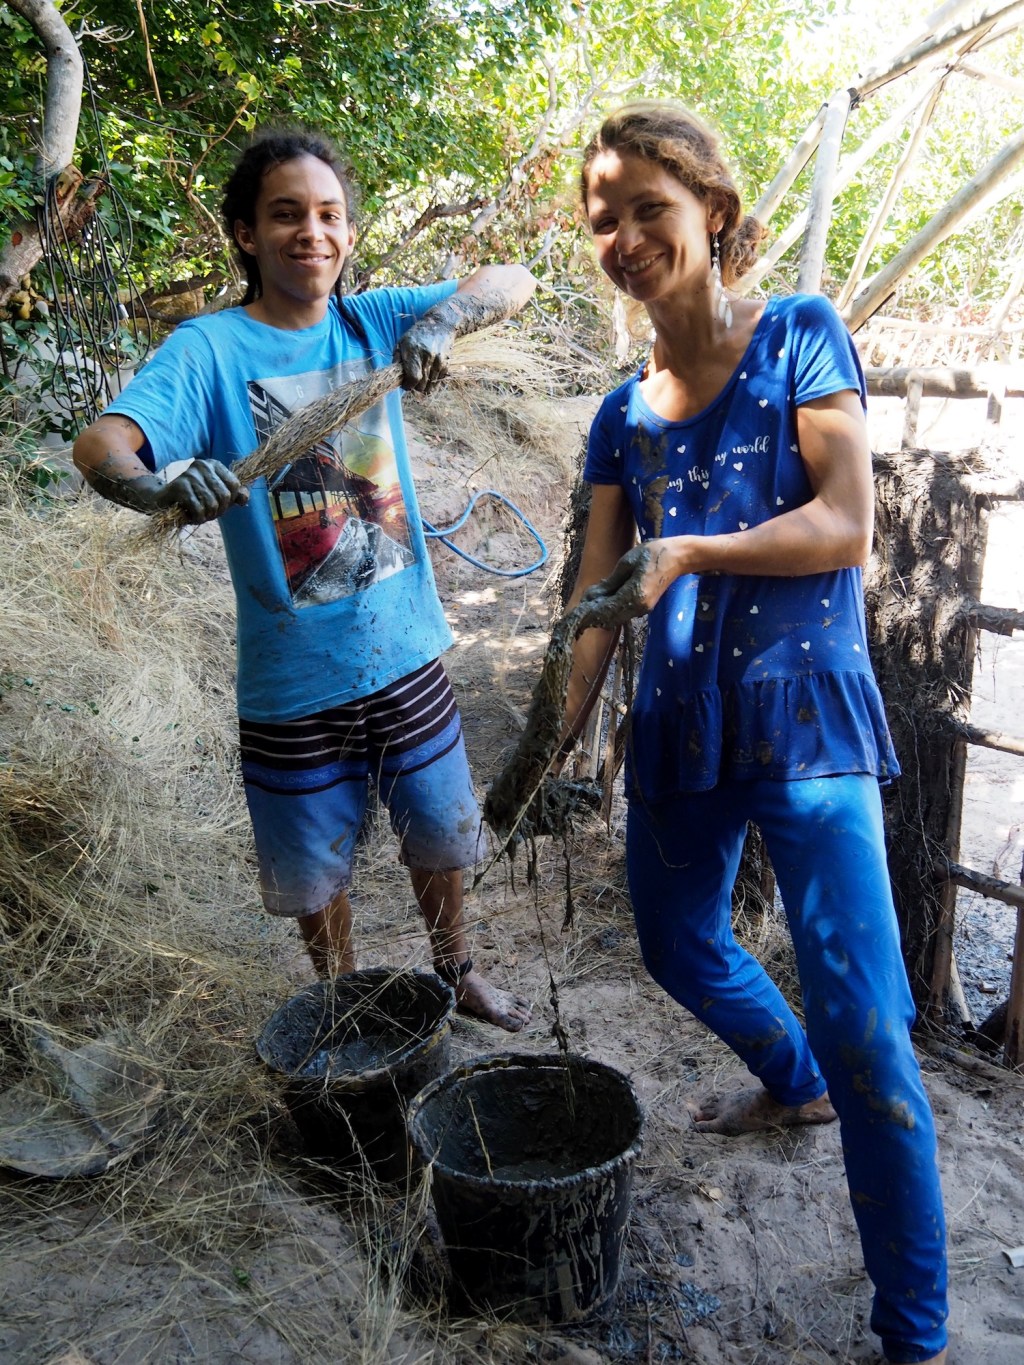
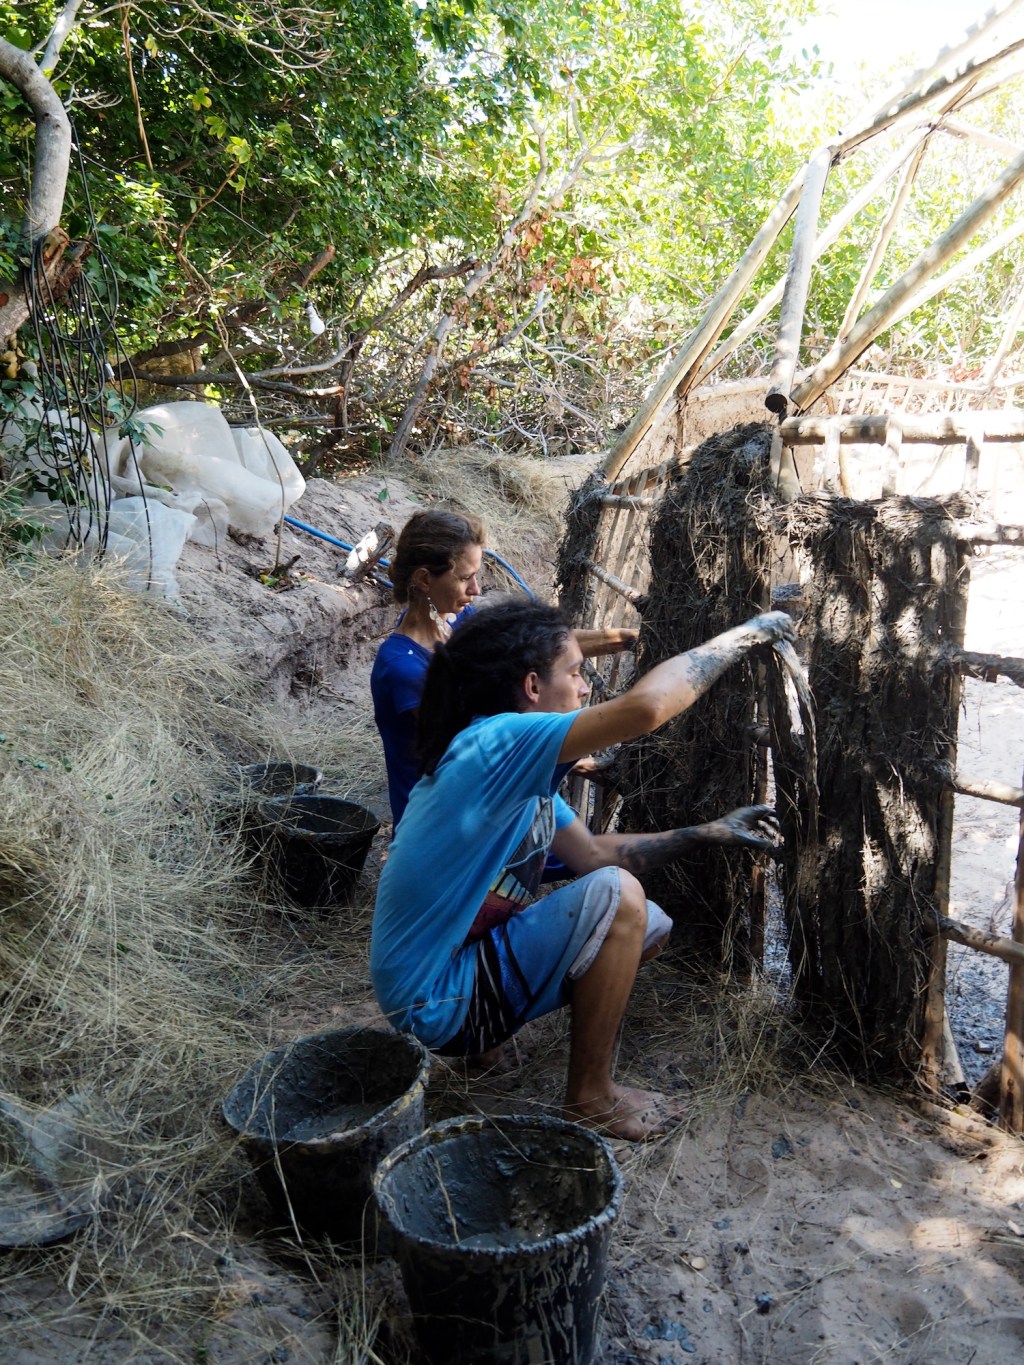
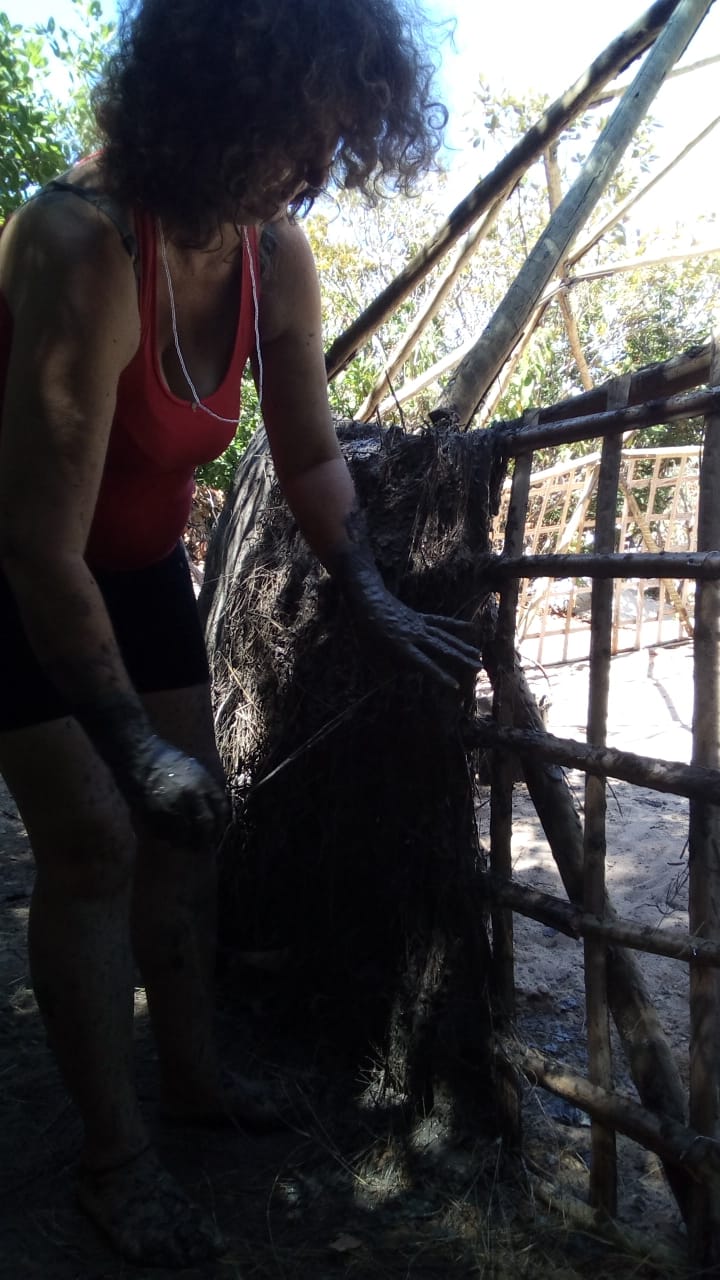
The Quincha wall was easy to construct, fun to do, satisfying and calming work. Martina told us it was important to put ourselves into the work, if we were distracted it would show within the wall we built. I loved the texture of the mud mix and quickly learned the feel of the correct consistency for each step of the process.
The following day the mud had semi dried, creating a surprisingly strong base for the next layer. To the basic mud mix we added an equal measure of straw, cut to 20 cm, and having pre-wetted the surface, we applied this second layer to both sides of the first. This created a fairly smooth surface, over which we would apply a third layer, containing straw cut to 5 cm. This would then be smoothed and finished using the same technique we used on the cob walls.
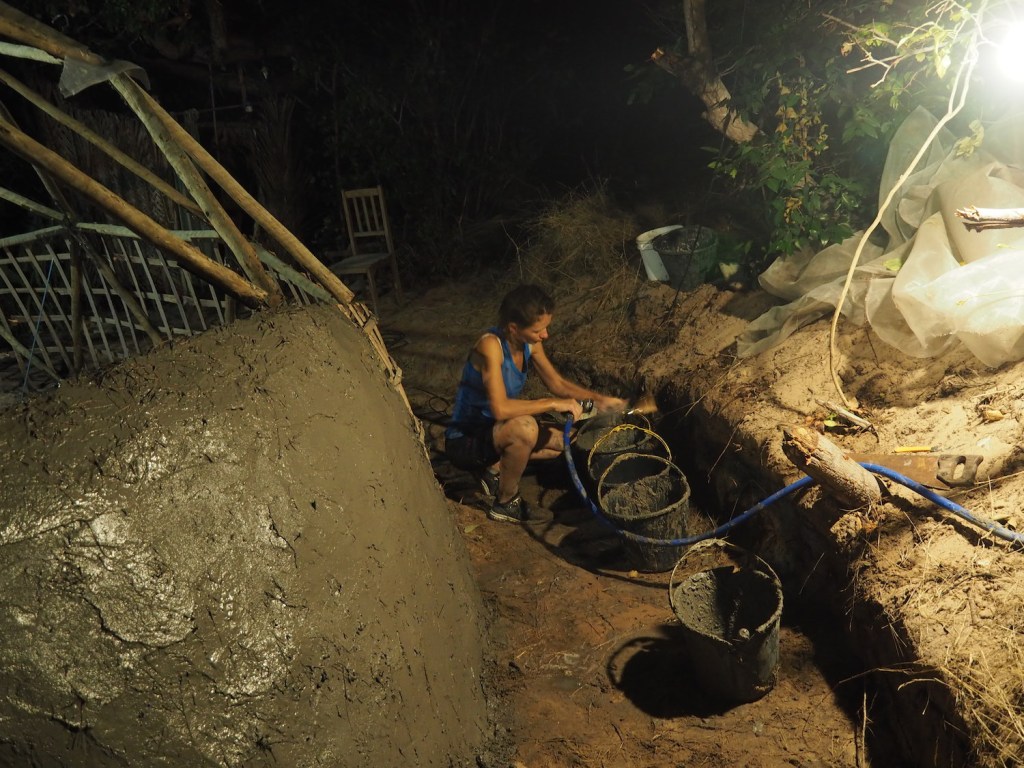
Over the next couple of days we filled in more and more of the lattice. We had to take a break during the hottest part of the day, working into the cooler night for as long as we could bear the mosquitoes, but there were not enough of us to complete the wall in the time I was there, which was a shame. Fabió runs permaculture courses and when he does, those students will also work on the dome and I hope to go back to do some more work on it soon.
Once dried Quincha, like cob and Adobe, is as hard as stone and properly constructed and cared for, can last indefinitely. These building techniques are suitable for all but the wettest and coldest of climates, are cheap, durable, resistant to seismic activity, do not suffer from mould, and have wonderful thermic qualities, keeping rooms at a comfortable, stable temperature.
Martina also showed us how, while you are building your quincha house, you can make shelves that, once dried, require no additional supports. You can also sculpt with the quincha in order to decorate the walls you are building, however I think this kind of work is definitely easier with cob. Martina made some pots from quincha, that do not need to be fired and demonstrated how to make a brick oven.
I’m off to investigate the qualities of the different clays and coloured sands around here. I think I will start off with some pots, work my way up to the oven and then, hopefully, something a bit more adventurous. Time to draw up some plans.
*Flecha da Mata recruit their volunteers from Workaway.info
*The main difference between Adobe and Cob, as I understand it, is that adobe is formed into bricks which are then dried in the sun before being used, while cob is built up with wet material, layer upon layer. As this was the way the structure was built, I have referred to it as Cob, although Martina and Fabió referred to it as Adobe.
